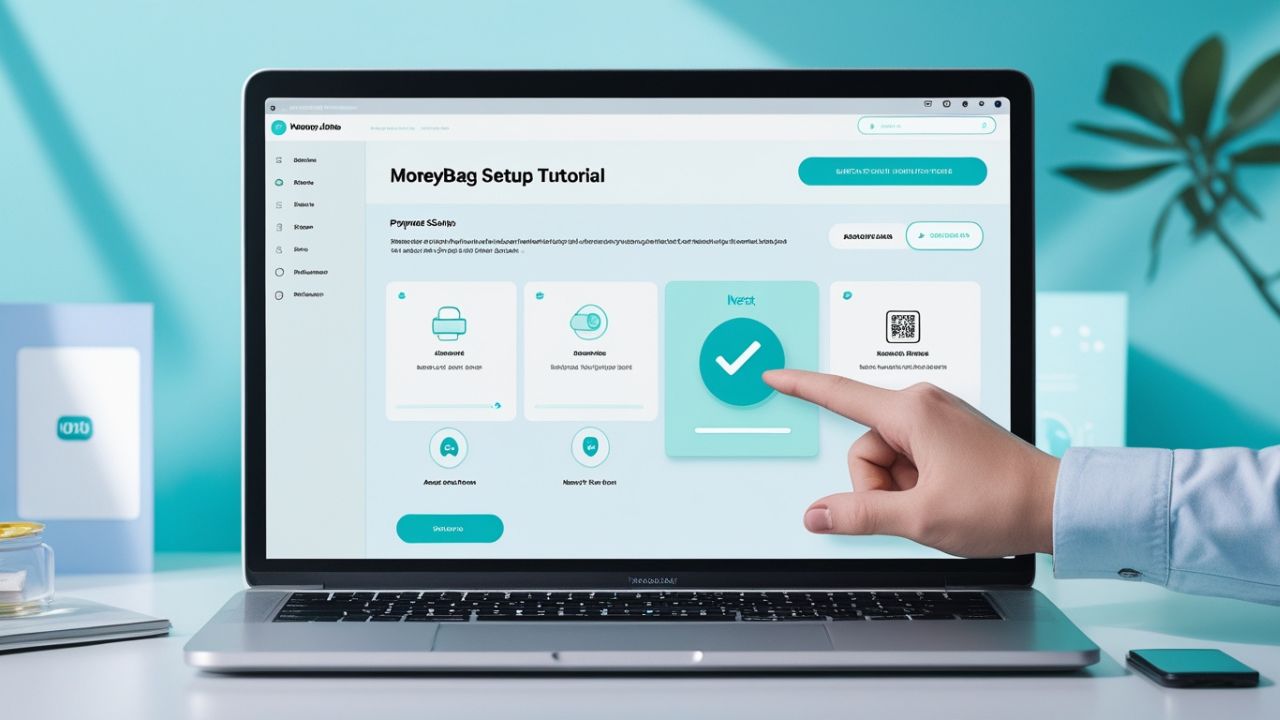
Step-by-Step WooCommerce + Moneybag Setup Tutorial
Use this guide to connect Moneybag to WooCommerce. Prepare your merchant account, install the plugin, test in the sandbox, and confirm the live payment methods and commercial terms for your account before launch.
The setup steps below cover the plugin, credentials, checkout, and webhook checks. The time needed depends on your store and account review.
By the end you will have:
- bKash, Nagad, cards + EMI live on your checkout page
- Settlement follows the cycle in your merchant agreement.
- Card details are entered on Moneybag's hosted checkout page rather than your store.
Perfect for Dhaka ecommerce sellers, RMG accessory shops, fashion boutiques, electronics stores, food delivery startups and anyone selling online in Bangladesh.
Why Choose Moneybag for Your WooCommerce Store in Bangladesh?
- Commercial terms are confirmed in your merchant agreement; ask Moneybag for a quote.
- Payment-method rates and other applicable charges are confirmed in your merchant agreement.
- Full support for bKash, Nagad , Rocket, Upay, Visa, Mastercard, Amex, EMI
- Bangladesh Bank-licensed Payment Service Operator
- Hosted card entry and 3D Secure for supported card payments.
- Onboarding handled in-house — most delays come from missing or unclear documents
- Sandbox testing is available before going live.
Ready? Let’s connect Moneybag to WooCommerce step by step.
Step 1: Create Your Moneybag Merchant Account
- Go to → https://moneybag.com.bd/join-as-merchant
- Click “Join as Merchant”
- Fill in your business details:
Shop name / company name - Owner name & NID
- Business type (Sole proprietorship / Private Ltd etc.)
- Bank account details (for settlement)
- Contact phone & email
- Upload required documents (usually Trade License, NID, Bank cheque leaf / statement)
- Submit → your documents are verified before the account goes live
Tip for Dhaka merchants: Upload clear photos of documents taken in good light — speeds up verification.
Step 2: Get Your Moneybag API Credentials
Once approved:
- Log in to your Moneybag merchant dashboard
- Go to → Settings → API / Integration
- You will see:
Store ID (or Merchant ID) - API Key
- API Secret
- Sandbox credentials (for testing)
- Copy these securely — you will need them in WooCommerce
Pro tip: Use the Sandbox mode first — test payments with fake cards/bKash without real money.
Step 3: Install & Activate Moneybag WooCommerce Plugin
- Log in to your WordPress admin dashboard
- Go to → Plugins → Add New
- Search for “Moneybag Payment Gateway for WooCommerce” (If not found in repository yet, download from Moneybag dashboard → Integrations → WooCommerce → Download plugin ZIP)
- Upload & activate the ZIP file
- Go to → WooCommerce → Settings → Payments
Step 4: Configure Moneybag in WooCommerce Settings
- Find “Moneybag” in the payment methods list
- Click “Manage” or “Set up”
- Check Enable Moneybag
- Enter the credentials you copied earlier:
Merchant ID / Store ID - API Key
- API Secret
- Choose Environment:
Sandbox (for testing) - Live (when ready)
- Select payment methods to show:
bKash - Nagad
- Rocket
- Upay
- Visa / Mastercard
- EMI (if enabled in your account)
- Set Title customers see at checkout (e.g. “Pay with bKash, Nagad, Cards & EMI”)
- Set Description (e.g. “Pay securely with bKash, Nagad, cards or EMI”)
- Enable 3D Secure (highly recommended for cards)
- Save changes
Step 5: Test Everything in Sandbox Mode
- Keep Environment = Sandbox
- Add a test product to cart (any price)
- Go to checkout
- Choose Moneybag payment method
- Use test credentials from Moneybag dashboard (fake card numbers, test bKash OTP etc.)
- Complete a test purchase → check if order status updates in WooCommerce
- In Moneybag dashboard → Sandbox transactions → verify the test payment appears
Common test issues & fixes:
- Error 401/403 → wrong API Key/Secret
- No payment methods show → check enabled methods in Moneybag settings
Step 6: Go Live – Switch to Production
- In Moneybag dashboard → switch to Live credentials if separate
- In WooCommerce → Payments → Moneybag → change Environment to Live
- Save
- Make one small real test purchase (BDT 10–50) using your own card or bKash
- Confirm the payment shows in your Moneybag dashboard and the order completes in WooCommerce
Step 7: Add Trust Badges & Optimize Checkout
- Show “Powered by Moneybag” or “Secure Payments – bKash, Nagad, Cards” badges on checkout
- Enable guest checkout
- Add clear refund policy link (helps reduce chargebacks)
- Use Moneybag payment links for Facebook/Instagram orders
Frequently Asked Questions (AEO-Optimized)
How long does Moneybag approval take in Bangladesh?
It depends on how quickly your documents can be verified. Clear photos of every document are the biggest factor.
Where can I get the Moneybag WooCommerce plugin?
Use the official Moneybag plugin source and confirm applicable commercial terms with the Moneybag team.
Can I accept bKash and cards on the same checkout page?
Yes — Moneybag shows all enabled methods together.
What if I get an error during setup?
Check API credentials first. If still stuck, contact Moneybag support from your dashboard, or use the sandbox to debug.
Does Moneybag support EMI for WooCommerce stores?
Yes — if your account has EMI enabled. Popular for electronics and fashion stores in Dhaka.
Final Checklist Before Launch
☑ Merchant account approved
☑ API credentials copied safely
☑ Plugin installed & activated
☑ Sandbox tests successful
☑ Live credentials entered & tested with small real payment
☑ Checkout looks good on mobile (most BD buyers use phones)
☑ Refund policy page live
Before launch, complete the checks above and confirm your live credentials with Moneybag.
→ Join Moneybag as Merchant — start your setup today
Explore the Moneybag sandbox to test the checkout flow.
If you encounter a setup error, contact Moneybag support with the step and error details.
Review your first live payments and settlement reports after launch.